reading-notes
A Beginner’s Guide to Docker
This is a beginner’s guide to Docker which is a way to isolate and run entire applications. With Docker it doesn’t matter if you are using a Mac, Windows, or Linux computer anymore.The entire development environment is isolated: programming language, software packages, databases, and more.
Linux Containers
Docker is really just Linux containers which are a type of virtualization.
Virtualization has its roots at the beginning of computer science when large, expensive mainframe computers were the norm. How could multiple programmers use the same single machine? The answer was virtualization and specifically virtual machines which are complete copies of a computer system from the operating system on up.
Containers vs Virtual Environments
Virtual environments are used to isolate Python software packages locally. We can create an isolated box for individual projects so one can use Python 2.7 and Django 1.5 while another can use Python 3.5 and Django 2.1 on the same computer. Virtual environments are great.
Install Docker
To install Docker we need to download the desktop app onour computer and create a free account. The initial download of Docker might take some time to download. It’s a big file. Feel free to stretch your legs at this point!
Images and Containers
Images and containers are the two fundamental concepts to grasp when you start with Docker. An image is a snapshot in time of what a project contains. A container is a running instance of the image.
Images
1.First create a local directory on your computer for our code. I’ve chosen to make a code folder on my Desktop (I’m using an Apple computer) and then a python3.7 folder within that.
2.we need to define the image with a Dockerfile. This is similar to a Pipenv or a requirements.txt file; it is a list of all the requirements needed to build our image. It is simpler to have them all in one place rather than install each manually line-by-line.
Image Builds
$ docker image build .
Image Layers
Every image is made up of one or more image layers. The base layer is often a flavor of Linux, like alpine. When we built the image for python:3.7-alpine this image had the id b2c276538711. But that image depended on five other images which were visible while building it
Containers
we have our Python image how do we run it? Well just as a Dockerfile is a list of image instructions there is also a docker-compose.yml file that is a list of container instructions.
To demonstrate a real-world image and container example we will now “Dockerize” a basic Django web app. You might not fully understand every step but you’ll see how Docker can work to run a web application completely on its own.
Dockerized Django
create a Dockerfile for our image which will completely replace our local dev environment, so this will have Python 3 and Django. Then we’ll add a docker-compose.yml for the container instructions. Make each file via the command line.
Django for APIs - Library Website
Django REST Framework works alongside the Django web framework to create web APIs. We cannot build a web API with only Django Rest Framework. It always must be added to a project after Django itself has been installed and configured.
Traditional Django
Navigate to the existing code directory on the Desktop and make sure you are not in a current virtual environment. You should not see (.venv) before the shell prompt .If you do, use the command deactivate to leave it. Make a new directory called library, create a new virtual environment, activate it, and install Django.
First app
the next step is to add our first app which we’ll call books. Stop the local server by typing Control+c and then run the startapp command plus our app name to create it.
Models
This is a basic Django model where models is imported from Django on the top line and a new class, called Book, extends it. There are four fields: title, subtitle, author, and isbn. We also include a str method so that the title of a book will display in readable format in the admin later on. Note that an ISBN is a unique, 13-character identifier assigned to every published book.
Admin
We can start entering data into our new model via the built-in Django app. To use it we need to create a superuser account and update the books/admin.py file so the books app is displayed.
Views
The views.py file controls how the database model content is displayed. Since we want to list all books we can use the built-in generic class ListView. Update the books/views.py file.
URLs
We need to set up both the project-level urls.py file and then one within the books app. When a user visits our site they will initially interact with the django_project/urls.py file so let’s configure that one first. Add the include import on the second line and then a new path for the books app.
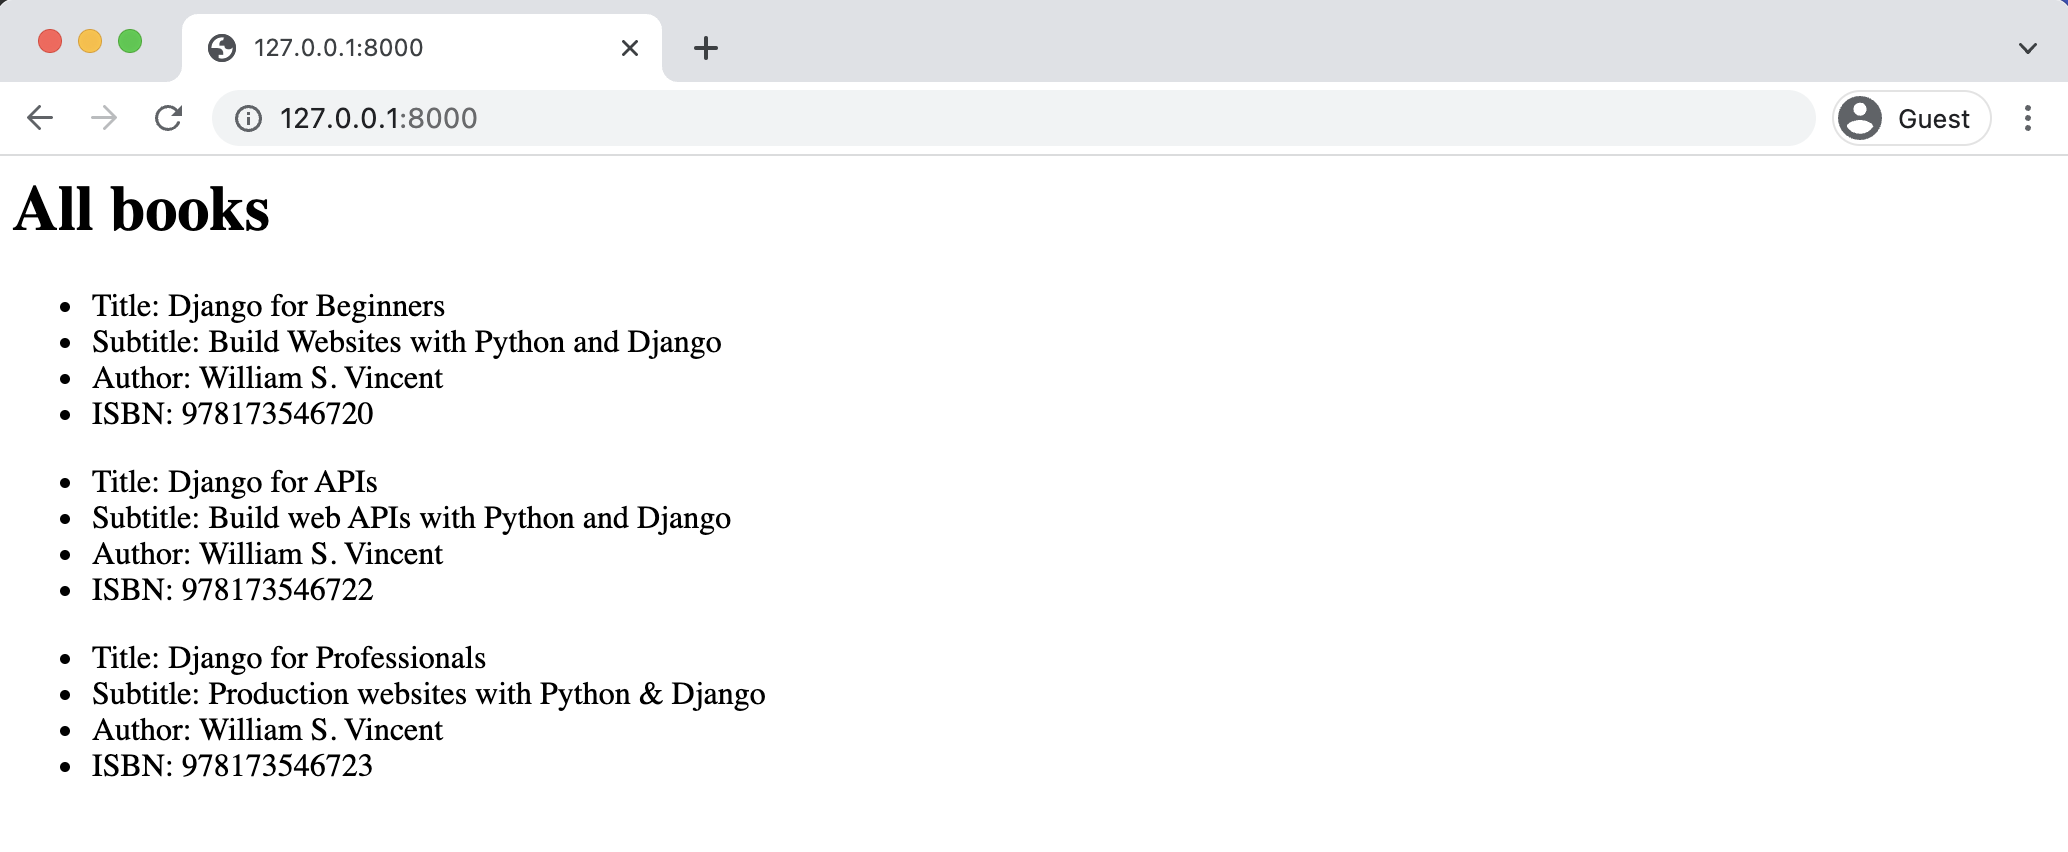
Templates
The final step is to create our template file that controls the layout on the actual web page. We have already specified its name as book_list.html in our view. There are two options for its location: by default the Django template loader will look for templates within our books app in the following location: books/templates/books/book_list.html. We could also create a separate, project-level templates directory instead and update our django_project/settings.py file to point there.